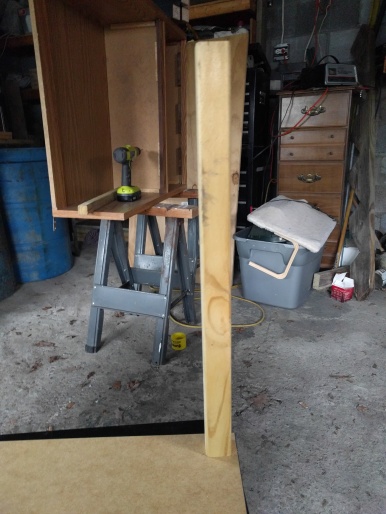
I would like a enclosure for my printer for a couple of reasons. I Print In ABS a lot and I would like to negate effects of the enviroment on my prints. I looked around a lot to see what others have done and many people use Ikea’s Lack table to create an enclosure. They are inexpensive and work well for making a box frame. I must have looked at 3 dozen different enclousers and one printer all made from these tables while looking around for what I wanted. The one that came closest to what I wanted to do was this one https://www.thingiverse.com/thing:1685857. I was planning to make real plans and a full tutorial for what I was about to make but one day my friend dave was over we decided to just build it we went to the local hardware place and got some MDF and a plastic panel for the door, some metal hinges and 90deg brackets. Unfortuantely my printer is too tall to fit inside with the tables just stacked on top of each other. I was going to print something to extend the tableleg but since I had found enough wood to make four legs I made legs at 19″. The legs were very carefully drilled out in center and the Ikea provided double screw could then be used to secure it to the table just like the lacks real legs.
Next the walls were mesured, cut and screwed onto the outside. I want to keep the build as modular as possible this way the panels can come off if needed.

- Painted and ready.
Every thing was painted a flat black and after drying it was time to start assembling the enclosure. I first put the lack table down and placed the printer on top of it and cut a small slot for the cabling to sit between the top table and the bottom one. Since the cabling was now recessed enough to place the top on I installed the 3d printer and secured the control box to the bottom of the lower table. Some of the final things like the hole for the filiment feed had to be done after the printer was installed so I could see where things lined up. Then a hole was drilled and a filiment guide installed and finally the top table attached to the bottom one.
It was then time to work on making a the door assembly.Cuttng the plastic is difficult and I would recommend not only having the proper tool but also someone to help you keep it from moving as you score it.(thanks again dave) Drilling thru the plastic very carefully we made holes for the hinges, door latch and handle in the plastic. Put it all together and its looks and works pretty good.
There are some things planned for the future on this such as getting my lighting properly wired into the control box for power instead of on a seperate power source. An Exhaust is needed still and there are currently no cameras in this enclosure. I need to re install my extruder cam as well as a PI (w/camera) for enclosure control. For this I plan to make a fake walls on the sides and hide all the electronics and filters in that space . i will have a 1x24x24 space on each side to hide this all . This will help to keep the clean look it currently has with little change to the inside.
